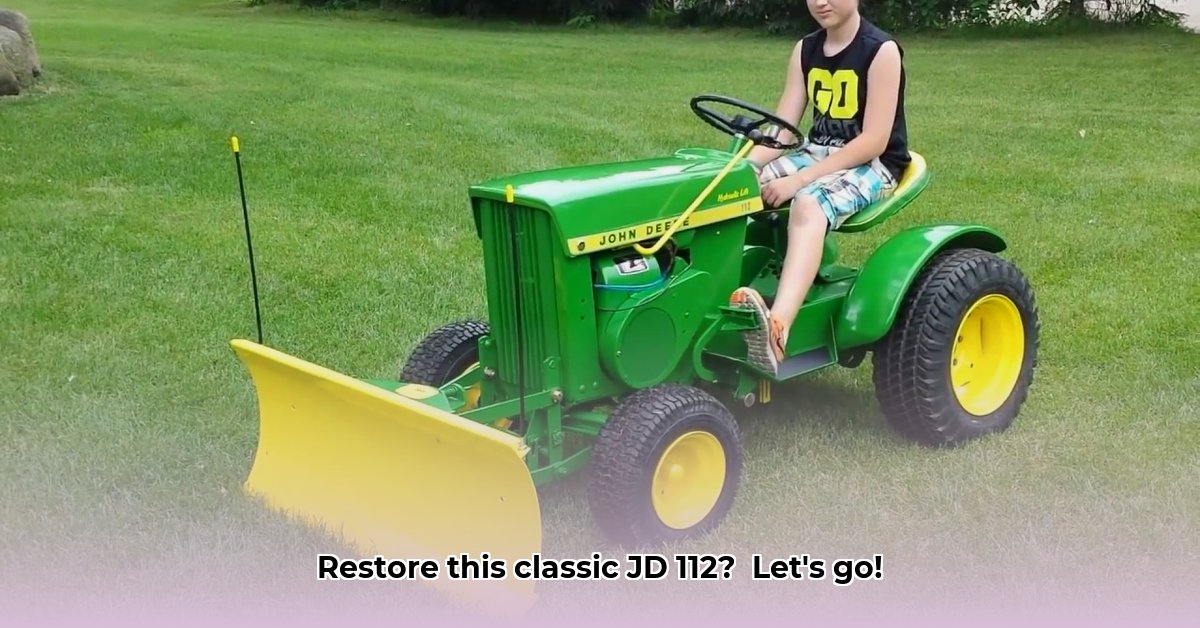
A Deep Dive into Restoring Your Classic John Deere 112
Owning a John Deere 112 lawn tractor is like owning a piece of American agricultural history. These machines, produced between 1966 and 1974, represent a bygone era of simple, reliable engineering. But restoring one requires more than just elbow grease; it demands careful planning and a deep understanding of the machine’s intricacies. This guide will equip you with the knowledge and systematic approach needed to bring your JD 112 back to its former glory. For additional resources, check out this helpful JD 112 resource.
Knowing Your JD 112: The Foundation of Restoration
Before you even reach for a wrench, understanding the specifics of your JD 112 model is paramount. The 112 saw several changes throughout its eight-year production run, affecting everything from its engine to its appearance. The serial number, typically found stamped on the frame near the engine, is your vital key. This number is not just a random sequence; it acts as a decoder ring, revealing not only the manufacturing year but often the exact production date. Online resources, such as the John Deere archives and dedicated enthusiast forums, can offer invaluable assistance in deciphering this crucial piece of information. Why is this initial step so critical? Because incorrect identification will lead to parts incompatibility, hindering the restoration process and potentially damaging your tractor. Have you ever tried to force a square peg into a round hole? It's more frustrating than it sounds.
Under the Hood: Unraveling the Engine Mystery
The engine is the heart of your JD 112, and this is where things get interesting. While the JD 112 is often noted for its sturdy construction, there's a degree of variability under the hood. Early models frequently featured Tecumseh engines, known for their rugged build, while later models transitioned to Kohler engines, often a 10 or 12 horsepower unit. The precise engine—its type and horsepower—is directly tied to the year of manufacture and will significantly impact your parts sourcing strategy. Don't assume! Verify by examining your serial number and using online databases to find your precise engine model. This is a crucial step before any other restoration work is undertaken - a wrong engine part is a waste of time and money.
Beyond the Engine: Visual Clues and Model Differentiation
The engine isn't the sole indicator of your JD 112's age. Subtle visual cues can reveal a lot about its year of manufacture. One telltale sign is the rear fenders. Early models sported round fenders while later models incorporated square ones. These subtle differences, in combination with engine and serial number identification, paint a clearer picture of your machine's history and inform parts selection during the restoration process. Taking detailed photos at each stage is highly valuable for reassembly.
Potential Problems and Solutions: A Comprehensive Guide
Restoring a vintage tractor involves more than just tightening bolts; it's about addressing potential problems proactively. The table below outlines common issues and their corresponding solutions:
| Component | Possible Problems | Repair Strategies |
|---|---|---|
| Engine | Wear, tear, parts availability | Engine rebuild or replacement; diligent online parts sourcing. |
| Transmission | Wear and tear | Overhaul with possible replacement parts. |
| Hydraulic System (112H Models Only) | Leaks, pump failure | Fluid level checks; preventative maintenance; part replacement. |
| Electrical System | Corrosion, damaged wiring | System inspection, rewiring, component replacement. |
| Mower Deck | Rust, dents, worn blades | Part replacement or refurbishment; blade sharpening. |
A Step-by-Step Restoration Plan: Your Actionable Guide
Now for the hands-on part. This detailed plan provides a structured approach to restoring your JD 112 lawn tractor.
- Disassembly and Documentation: Begin with a thorough cleaning to assess the damage. Carefully dismantle the tractor, documenting each stage with detailed photographs. This photographic record becomes your roadmap for reassembly.
- Component Assessment: Once disassembled, inspect each component meticulously. Note which parts require repair, replacement, or merely cleaning.
- Parts Sourcing: This is often the most challenging step. Utilize online marketplaces dedicated to vintage tractor parts, specialized suppliers, and even local salvage yards or scrapyards.
- Repair and Refurbishment: Address necessary repairs and refurbishments. Where possible, restoration should focus on preserving original parts; however, replacement is acceptable when necessary to ensure proper function.
- Reassembly: Reassemble your tractor, using your photographs as a guide. Take your time to ensure proper alignment and functionality.
- Testing and Fine-Tuning: Once reassembled, rigorously test every component, making any necessary adjustments to ensure smooth operation.
The Rewards of Restoration: More Than Just a Machine
Restoring a vintage JD 112 is more than just fixing a lawn tractor; it’s a journey through time. It’s about preserving a piece of agricultural history and experiencing the satisfaction of bringing a machine back to life. The feeling that comes from successfully restoring this classic machine is unparalleled; it is the reward for the hard work, dedication, and knowledge you will have gained. Plus, you join a community of enthusiasts online that may give you valuable insight to your restoration project.
How to Identify a John Deere 112 Engine by Serial Number
The serial number, usually found on the engine block near the flywheel, is your key to unlocking the mysteries of your JD 112's engine. This number, often seemingly random, actually contains encoded information about the engine's manufacturer (Tecumseh or Kohler), model, and even the production date.
This is often a tedious process that may require consulting a range of resources. While John Deere's official documentation may not suffice, online forums dedicated to antique Deere tractors and their associated engines offer support and knowledge-sharing. It's also beneficial to cross-reference the information with parts manuals to ensure accurate identification. Your meticulous efforts will prevent unnecessary issues down the line. The correct engine parts will be crucial to the success of the restoration.
Key Takeaways:
- Accurate Engine Identification is Crucial: Understanding your engine type is fundamental for procuring the correct parts.
- The Serial Number is Your Primary Tool: This number holds the key to identifying the engine's manufacturer and model.
- Online Communities are Invaluable Resources: Engaging with seasoned enthusiasts can provide the expertise and support you need.
- Parts Manuals Offer Additional Clues: Cross-referencing your findings with parts manuals helps eliminate any potential ambiguities.
- Thorough Examination is Key: A careful inspection of the engine itself aids your identification efforts.